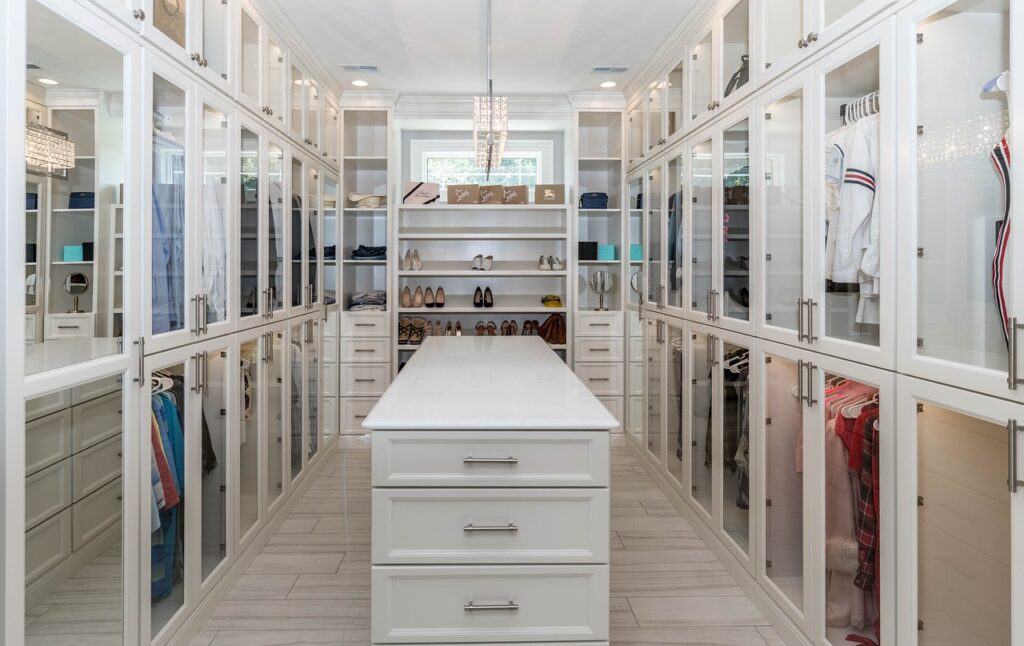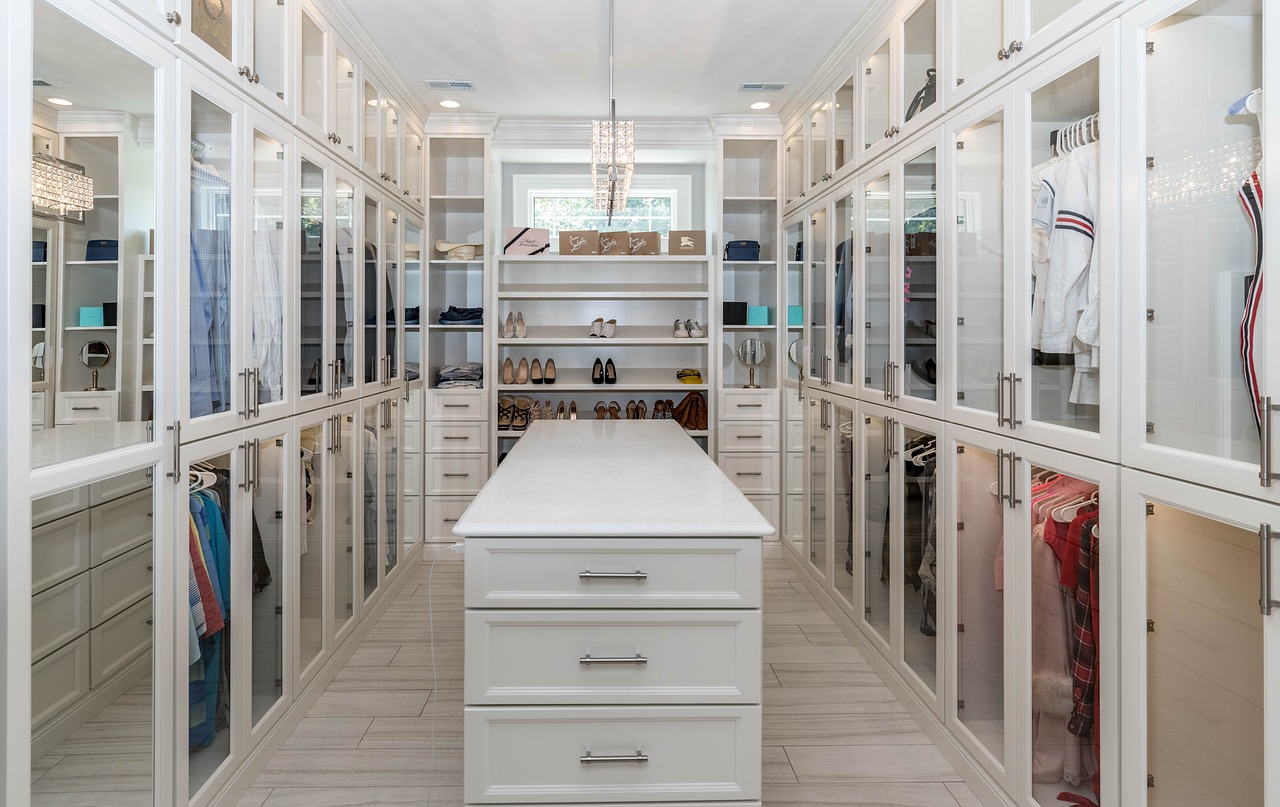
Creating a custom closet can significantly enhance the functionality and organization of your space. In this comprehensive DIY closet tutorial, we’ll guide you step-by-step through the process of building a closet that fits your needs and style, ensuring you maximize every inch of your available space.
Step 1: Planning Your Closet Layout in This DIY Tutorial
Before you dive into this DIY closet tutorial, it’s essential to plan your closet layout carefully. Measure the space where you want to install the closet, noting the height, width, and depth. As you go through this tutorial, consider the types of items you’ll store, such as clothes, shoes, and accessories, to determine the best layout for your closet.
Choosing the Right Location for Your Closet in This Tutorial
When deciding on the closet’s location, consider factors like accessibility and light. A well-lit area can make finding items easier. If you’re converting a small room or nook into a closet, think about how to make the most of the available space.
Step 2: Gather Your Tools and Materials
Now that you have a plan, gather all the necessary supplies for this DIY closet tutorial. Here’s a list of tools and materials you’ll need. At the end of this tutorial, you will find links to help you easily locate the items you need.
Tools
- Measuring tape
- Circular saw or jigsaw
- Drill
- Level
- Screwdriver
- Stud finder
- Sandpaper
- Paintbrush (if painting)
Materials
- Plywood or MDF boards
- Closet rods
- Brackets
- Screws
- Wood glue (optional)
- Paint or wood stain
- Drawer slides (if adding drawers)
Step 3: Cut the Boards to Size for Your Closet in This Tutorial
Using your measurements, cut the plywood or MDF boards to the required dimensions for your closet. This includes shelves, side panels, a top panel, and possibly a bottom panel. Ensure all cuts are straight and precise to achieve a professional finish.
Safety Tips for Using Tools in Your DIY Closet Tutorial
When using power tools, always wear safety goggles and a mask to protect yourself from dust and debris. Follow the manufacturer’s instructions for each tool for safe operation.
Step 4: Assemble the Closet Frame
Begin assembling the closet frame by attaching the side panels to the top panel using screws. Ensure the frame is square by checking the corners with a level. After securing the top, attach the bottom panel for added stability.
Reinforce the Structure
For extra durability, consider using wood glue in addition to screws at the joints. This will help ensure your closet can hold heavy items without sagging.
Step 5: Install the Shelves for Your Closet in This DIY Tutorial
Decide on the height and spacing for your shelves based on the items you plan to store. Use brackets to secure the shelves in place, making sure they are level. For wider shelves, adding a center support beam can help prevent sagging.
Adjustable Shelves
If you want more flexibility, consider using adjustable shelving systems that allow you to change shelf heights as needed.
Step 6: Add Closet Rods in This DIY Closet Tutorial
To create hanging space for your clothes in this DIY closet tutorial, install closet rods at a comfortable height. Use sturdy brackets to secure the rods. You can opt for a single rod for shorter items or double rods for maximizing space—ideal for shirts and pants.
Rod Placement Tips
For optimal organization, place the upper rod higher for longer garments and a lower rod for shorter items. This will maximize the use of vertical space in your closet.
Step 7: Customize Your Closet
Personalizing your closet can make a significant difference in organization and functionality. Here are some ideas:
- Drawer Units: Add drawer units for smaller items like accessories, socks, or undergarments.
- Shoe Racks: Create dedicated shoe storage using racks or shelves.
- Baskets and Bins: Use bins to store smaller items and keep your closet looking tidy.
Decorative Touches
Consider adding decorative elements like wallpaper or a stylish mirror to enhance the closet’s aesthetic appeal. A well-organized and attractive closet can make getting dressed each day a pleasure.
Step 8: Finishing Touches
Once your custom closet is assembled, inspect all components to ensure everything is secure. Add finishing touches like knobs or handles to drawers and doors. If you chose to paint or stain, ensure it’s completely dry before placing items in the closet.
Organizing Your Closet
Take some time to organize your clothes, shoes, and accessories effectively. Use similar categories, such as by color or season, to make it easier to find what you need.
Building a custom closet is a rewarding DIY project that can dramatically improve your home’s organization and aesthetic. By following this detailed tutorial, you’ll create a functional and stylish closet tailored to your specific needs. Enjoy your new closet space and the satisfaction of a job well done!
Tools and Materials Needed
- Measuring Tape
Essential for getting accurate measurements of your closet space. Get your measuring tape now by clicking here! - Circular Saw or Jigsaw
A reliable saw is necessary for cutting the plywood or MDF boards to size. Get your circular saw now by clicking here! - Drill
A power drill will make assembling the closet much easier and more secure. Get your drill now by clicking here! - Level
Ensure your shelves and rods are perfectly straight for a professional finish. Get your level now by clicking here! - Screwdriver
A set of screwdrivers is essential for attaching various components securely. Get your screwdriver set now by clicking here! - Stud Finder
This tool helps locate wall studs for secure installation of brackets and rods. Get your stud finder now by clicking here! - Sandpaper
Use sandpaper to smooth out any rough edges on your cut boards for a polished look. Get your sandpaper now by clicking here! - Paint or Wood Stain
Choose a color or finish that complements your decor to give your closet a stylish look. Get your paint or wood stain now by clicking here! - Plywood or MDF Boards
These are the main materials you’ll use to construct the closet frame and shelves. - Closet Rods
Necessary for hanging clothes efficiently and keeping them wrinkle-free. Get your closet rods now by clicking here! - Brackets
Use brackets to support shelves and rods, ensuring they are sturdy and reliable. Get your brackets now by clicking here! - Screws
Make sure to have the right type of screws for wood to secure all components. Get your screws now by clicking here! - Drawer Slides (if adding drawers)
These allow your drawers to open and close smoothly, making your closet more functional. Get your drawer slides now by clicking here! - Baskets and Bins
Perfect for organizing smaller items, keeping your closet tidy and accessible. Get your baskets now by clicking here!
Read Next: Sink Faucet Replacement: A Step-by-Step Guide

Photo By mgattorna on Pixabay and Canva
Disclosure:
Some of the links in this article are affiliate links. This means that if you click on these links and make a purchase or sign up, I may earn a small commission at no additional cost to you.
As a Shabbat and Biblical feast keeper, I strive to observe my faith fully. To help me adhere to these principles, I kindly ask that you use the affiliate links just before or after the relevant dates. This way, we can all honor the commandment to refrain from work and avoid making others work on those days. Your support in this matter is greatly appreciated. Thank you for your understanding!


